Customize a template activity
Inspire workflow templates are designed around an Activity. An activity is a task that must be performed to complete a step in the workflow. If you want a workflow that contains different activities, you can update an existing activity.
 Required permissions
You must have permission to the Projects Module to work with projects and workflows. Other than that, you do not need special permissions to create, edit, or delete workflow templates.
 However, keep in mind that administrators and other users can set permissions on components and folders.
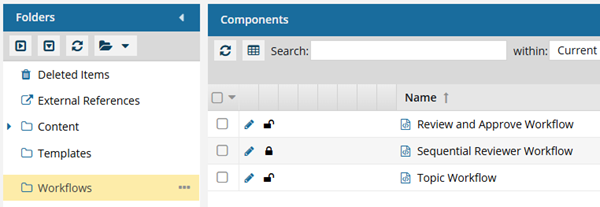
- You must have permission to edit the workflow template component.
- You must have folder permissions where the template is stored.
- For details on how to check and set permissions, refer to: Set permissions.
 For a complete list of permissions, including starting a workflow from a template, read: Workflow permissions.

 Tips and tricks
- Activities are exclusive to the template they are in. If you want to add a new activity to multiple workflow templates, you must open each template and add the activity separately.
- If you want to create a copy of an existing activity, you can also Copy and paste an activity.
- If you want to create a new activity without any settings, you can also Add a new activity.
- You also can manage activities in the following ways:
- If you want to use an activity to automate the process of creating a review in a Topic workflow, follow the steps in: Automate reviews with a workflow template.
- If you want to use an activity to automate the process of approving components in a Topic workflow, follow the steps in: Automate approvals in workflow template.
- If you want to use an activity to automate the process of sending content to translation in a Topic workflow, follow the steps in: Automate translations with a workflow template.
 Before you begin
- The changes to an Activity will be applied to all new workflows that are started using this template.
- For workflows that use this template and are in progress:
- If the Activity you are updating has not occurred yet, the changes will be applied when the workflow moves to the updated Activity.
- If the Activity you are updating has already been completed, the changes will not be applied.
To customize a template activity:
-
Click
 Components.
-
In the Folders pane, select Workflows.
 If you have moved the template to another folder, go to that location instead.
 -
In the Components pane, select a workflow.
To open the template, do one of the following:
- Double-click the file
- Right-click the file, and then select Edit...
- Click
 the Options menu, and then select Edit...
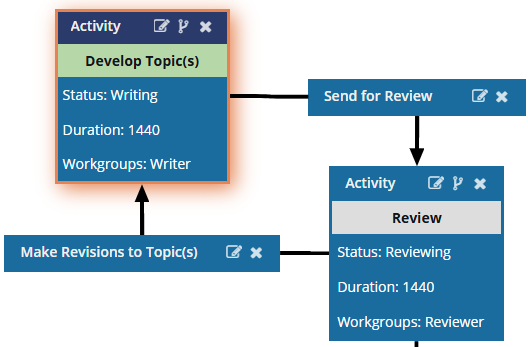
 Results: You see the workflow activities and transitions in the editor.
 -
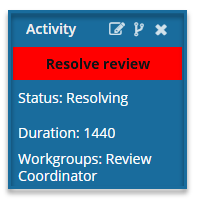
In the workflow editor, select the Activity you want to update.
Result: The box you select is highlighted in orange.
-
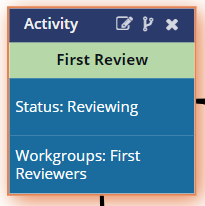
In the Activity's title bar, click
 Edit.
Results: You see the Update Activity screen.
Edit.
Results: You see the Update Activity screen.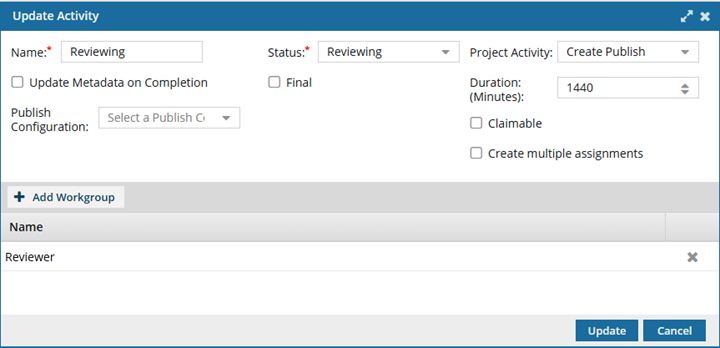
-
In Status, select an option such as Reviewing or Resolving.
 These options are configurable. Follow the steps in: Manage statuses in a template.
 -
In Project Activity, select the goal of this step, such as Write, Edit, Review, Approve, or Publish.
Project Activity is a required field and cannot be left blank. Although this field is not marked with a red asterisk, and you can create a new Activity without selecting a Project Activity, if you leave it blank, the Save and Submit options are not available until you correct the errors in the workflow template.
- If there is an error in the configuration of the Activity, you see the Activity name in red.
You must correct any errors before you can Save or Submit the workflow template.
These options are configurable. If you are an administrator, follow the steps in: Manage project activity configurations
- If there is an error in the configuration of the Activity, you see the Activity name in red.
-
Optionally, if you want this to be the first activity and no activities come before it in the workflow, select Initial.
If an Activity already has the Initial checkbox selected, you will not see this option.
- There can only be one Activity with the Initial checkbox selected.
- To change the Initial Activity, edit the first Activity box in the workflow and clear the Initial checkbox.
- Open the Activity you want to start with, select the Initial checkbox, and save your changes.
- If you do not select an Activity as Initial, Inspire uses the first Activity box in the visual flow.
-
Optionally, if you want this to be the final activity and no additional activities will follow in the workflow, select Final.
If an Activity already has the Final checkbox selected, you will not see this option.
-
Optionally, you can set a Duration for this activity in minutes.
Important notes:
- In the templates Inspire provides, by default, the user is given a Duration of 0 minutes to complete the activity, so you will need to set your own duration.
- You can set the time in minutes from 0 to 525600, which is 1 year.
- After the Duration passes, if the activity is not complete, it is marked as Overdue and notifications may be sent depending on a user's notification preferences.
-
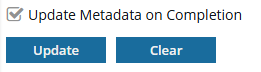
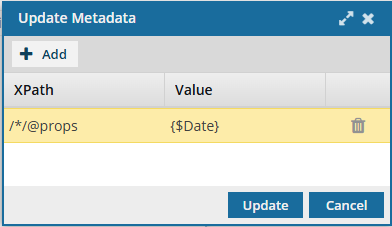
If you want Inspire to populate or clear an XML element or attribute value across components participating in the workflow, select the Update Metadata on Completion option.
-
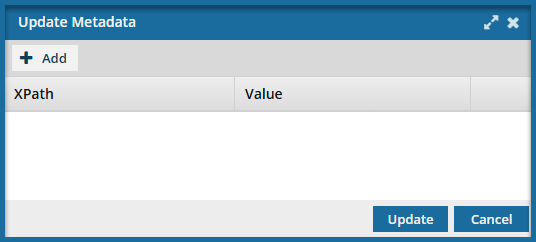
On the Update Metadata screen, click
 Add.
Add.
-
In the XPath and Value fields, enter the expression you need to update your metadata.
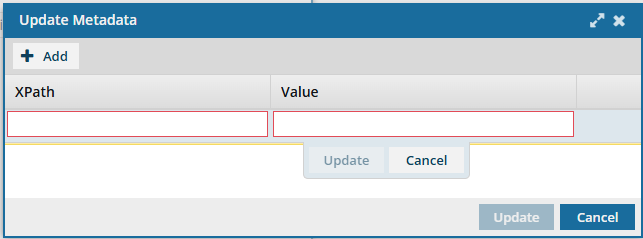
For example, if you are using the XML element "otherprops" and you want it to be set to the date when this Activity is completed, you would use the following values:
- XPath =
/*/@props - Value =
{$Date}
- XPath =
-
On the Update Metadata screen, click Update.
-
On the Update Metadata screen, click
-
Optionally, if the Activity is related to publishing, in Publish Configuration, select the option that contains the publishing settings you want to use.
A Publish Configuration is created by an administrator and may include settings such as a default Publish Name, whether to skip or validate XML in the components, and profiling filters.
-
Optionally, in Claimable, you can identify this activity as a project assignment that isn't assigned to one person initially. Instead, the user creating the workflow provides a list of users who can accept the assignment.
If you set an Activity to Claimable, when a user creates a workflow using this template:
- The user who creates a project assignment selects the Claimable options, then Inspire sets the activity to a State of Ready To Claim.
- The user who creates the workflow can select from the list of participants who can possibly accept the work. This user list is taken from the workflow's workgroup assigned to this type of activity.
- After the assignment is created, all participants are sent a notification that there is an assignment to claim.
- The first user who changes State to In Progress claims the assignment and can complete the work.
Claimable is not available if you select Create Multiple Assignments. -
If you want Inspire to create an assignment for each user in the Workgroup instead of a single assignment for the selected user, select the Create multiple assignments option.
Important notes:
- All users MUST complete the assignment (or all assignments must be canceled) before the Activity can be marked complete, and the workflow can be advanced.
- This option is not available if you selected Claimable.
- If you select Create Multiple Assignments, when you start a workflow based on this template, you will not be able to Change the current activity in a workflow.
-
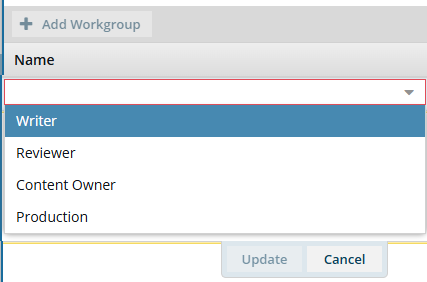
In Workgroup, select
 Add Workgroup.
-
Select an option such as Writer, Reviewer, Content Owner, or Production.
These options are configurable. Follow the steps in: Manage template workgroups.
-
Click Update.
Results: You see the workflow listed under Name.
-
Select an option such as Writer, Reviewer, Content Owner, or Production.
-
To save your Activity changes, click Update.
If you do not have all the required fields configured, the Update button is unavailable. Make sure you have entered or selected a value for all the following fields:
- Name
- Status
- Project Activity
- Workgroup
Results: - You can see your updated activity in the workflow editor.
-
To save your template changes, do one of the following:
- If you are done updating the workflow, to close the workflow editor, click
 Save and Submit.
 - If you want to keep working but save your changes locally, click
 Save Progress.
Results: - The changes to an Activity will be applied to all new workflows that are started using this template.
- For workflows that use this template and are in progress:
- If the Activity you are updating has not occurred yet, the changes will be applied when the workflow moves to the updated Activity.
- If the Activity you are updating has already been completed, the changes will not be applied.
- If you are done updating the workflow, to close the workflow editor, click