Add a Create Review Activity
To automate some of the review creation process, you can add a new or update an existing Activity that includes the details you want to populate when creating a review automatically.
 Required permissions
You must have permission to the Projects Module to work with projects and workflows. Other than that, you do not need special permissions to create, edit, or delete workflow templates.
 However, keep in mind that administrators and other users can set permissions on components and folders.
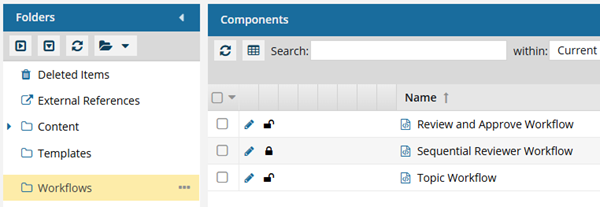
- You must have permission to edit the workflow template component.
- You must have folder permissions where the template is stored.
- For details on how to check and set permissions, refer to: Set permissions
 For a complete list of permissions, including starting a workflow from a template, read: Workflow permissions.

 Tips and tricks
- You can create an entirely new workflow template component that has no default Activities and Transitions.
- Use the Topic workflow template explained in this topic as an example of what you can create.
- To create a new template, follow the steps in: Create a workflow template component.
- When creating a review assignment for a project workflow, Inspire automatically includes the component attachments in the review.
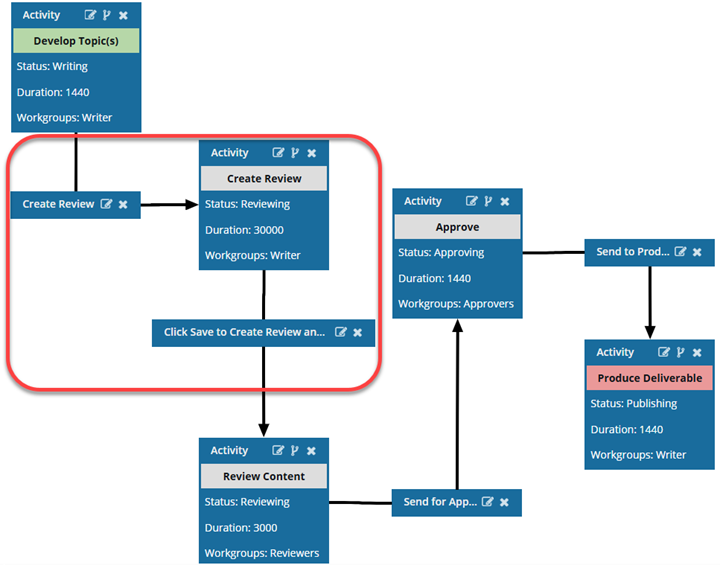
For more details on the complete automation process shown in this diagram, read: Automate Reviews in a template.
 Before you begin
- You must add an Activity called Create Review to the workflow template for the following reasons:
- When a user is creating a workflow and uses this template, Inspire uses the details they include in this Activity to populate the Create Review screen.
- This Activity serves as a connection between the Create Review and Click Save to create a review Transitions.
- You must have already completed the steps in: Add the InspireCreateReview Action.
To add a Create Review action to a topic workflow template:
-
Click
 Components.
-
In the Folders pane, select Workflows.
 You can save a workflow template to another folder. If you did this, open that folder instead of the Workflows folder.
 -
In the Components pane, select a workflow.
The InspireCreateReview action that uses this Activity is only available in Topic workflows or a completely new workflow template component.
-
In the workflow editor, click
 Create Activity.
-
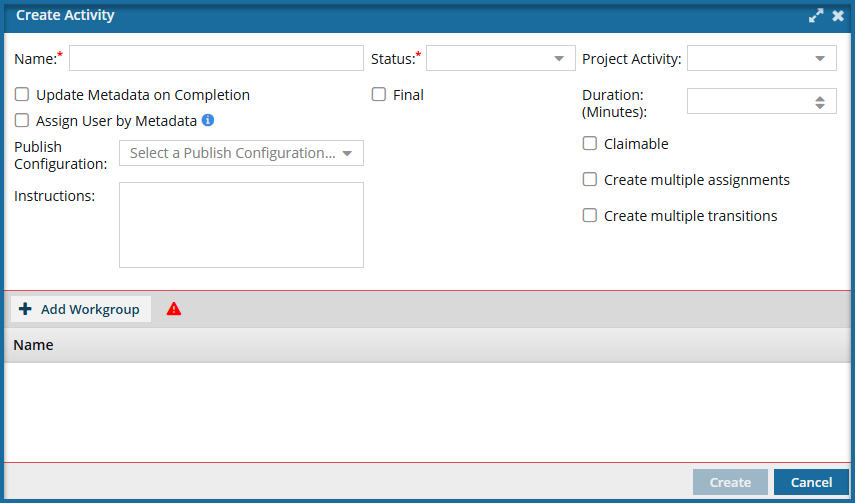
On the Create Activity screen, in Name, enter Create Review or another similar title that describes the action users take.
-
In Status, select Reviewing.
Status options must be pre-configured. If you don't see the option you need, Cancel out of this screen and follow the steps in: Add a new status to a workflow template.
-
In Project Activity, select an option such as Review Content.
Project Activity options must be pre-configured. If you don't see the option you need, Cancel out of this screen and contact your administrator. Admins can follow the steps in: Add a project activity configuration.
-
Optionally, you can set a Duration for this activity in minutes.
 Important notes:
- In the templates Inspire provides, by default, the user is given a Duration of 0 minutes to complete the activity, so you will need to set your own duration.
- You set the time in minutes from 0 to 525600, which is 1 year.
- After the Duration passes, if the activity is not complete, it is marked as Overdue and notifications may be sent depending on a user's notification preferences
-
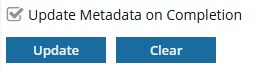
If you want Inspire to populate or clear an XML element or attribute value across components participating in the workflow, select the Update Metadata on Completion option.
-
On the Update Metadata screen, click
 Add.
Add.
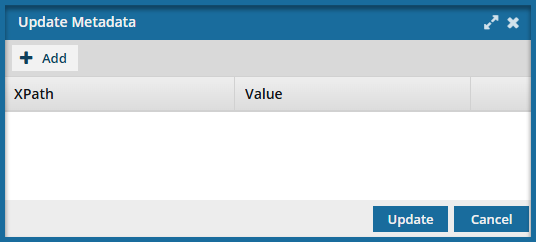
-
In the XPath and Value fields, enter the expression you need to update your metadata.
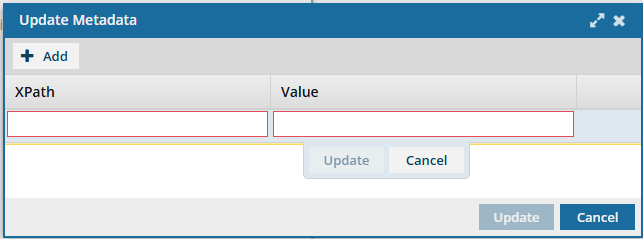
For example, if you are using the XML element "otherprops" and you want it to be set to the date when this Activity is completed, you would use the following values:
- XPath =
/*/@props - Value =
{$Date}
- XPath =
-
On the Update Metadata screen, click Update.
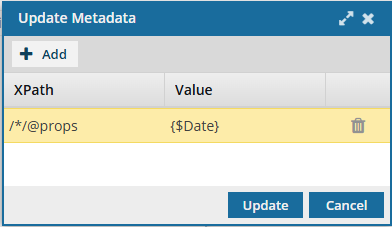
 Results: You see your XPath statement under the Update Metadata on Completion option.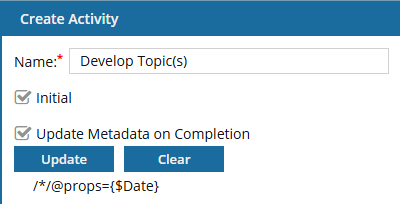
-
On the Update Metadata screen, click
-
Optionally, to pull in a component's element or attribute that contains an email address to automatically assign the activity to a user, select Assign User by Metadata.
Important notes:
- If it does not already exist, you must Add metadata to a component that contains the email address of an Inspire user who is a member of the Activity's Workgroup.
- If you use this option, you cannot select either the Claimable or Create Multiple Assignments options.
- You can only use one XPath statement.
- Inspire inspects the first component in the assignment and evaluates the XPath statement. If it encounters any errors, the Activity is assigned to the user in the Fallback User field that appears on the Next Activity screen instead of the Assign To field. For more information about errors, read: Automate the assignment of a workflow activity.
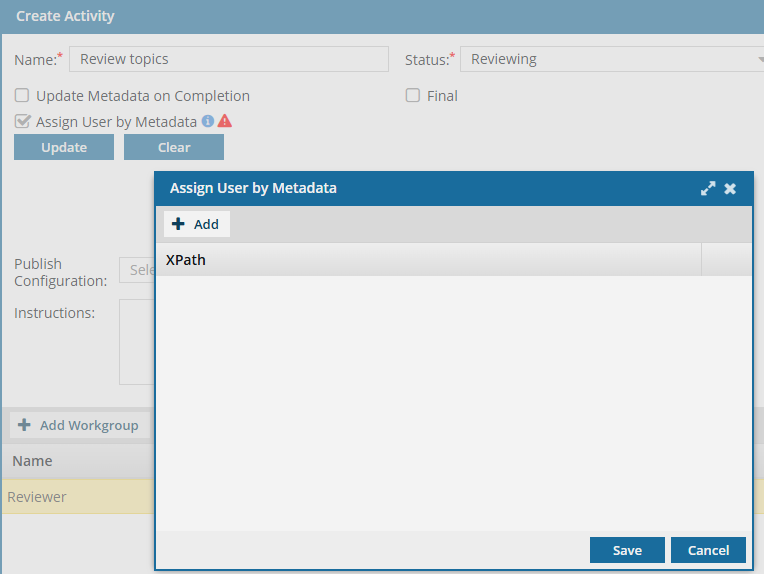
-
In the new field that appears, enter your XPath statement. For example:
/*/@props.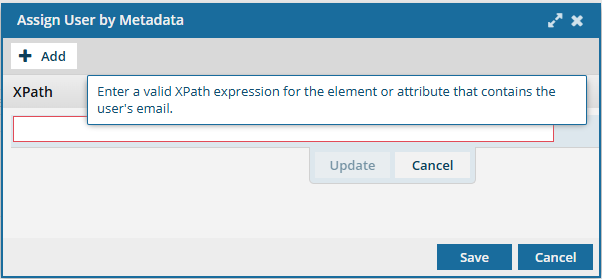
-
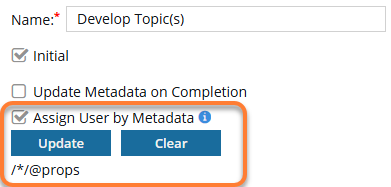
On the Assign User by Metadata screen, click Save.
Results: You see the XPath statement that Inspire will use to assign the Activity.
-
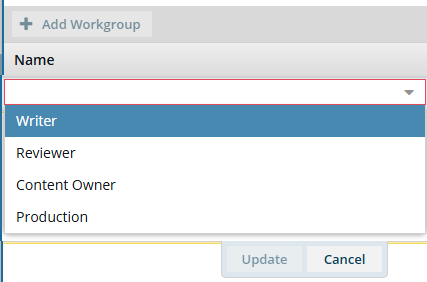
In Workgroup, ensure that an option is selected. If not, click
 Add Workgroup.
 Important notes:
- The Workgroup field is required for all Activities.
- This field is especially important for the Assign User by Metadata feature. Inspire inspects the first component in the assignment and evaluates the XPath statement. If it encounters any errors, the Activity is assigned to the user in the Fallback User field that appears on the Next Activity screen instead of the Assign To field.
-
Select an option such as Writer, Reviewer, Content Owner, or Production.
These options are configurable. Follow the steps in: Manage template workgroups.
-
Click Update.
Results: You see the workflow listed under Name
-
If you want Inspire to create an assignment for each user in the Workgroup instead of a single assignment for the selected user, select the Create multiple assignments option.
Important notes:
- All users MUST complete the assignment (or all assignments must be canceled) before the Activity can be marked complete, and the workflow can be advanced.
- This option is not available if you selected any of the following options:
- Claimable
- Assign User by Metadata
- If you select Create Multiple Assignments, when you start a workflow based on this template, you will not be able to Change the current activity in a workflow.
-
To refine the options on the Next Workflow Task screen based on how the previous assignment was completed, select Create Multiple Transitions.
Results: When you add a transition From this Activity, the Create Transition screen includes an option to select a Transition Type. You can create one transition for each type listed. Currently, this is limited to Accept and Reject.
- This functionality lets you create different paths for the workflow to follow.
- For example, you can configure a review activity that lets the user select Accept or Reject when completing the activity. If they select Accept, the workflow can advance to an approval or translation task. If they select Reject, the workflow can return to the develop content task.
- For help creating multiple transitions, follow the steps in: Using multiple transitions with one activity.
-
Optionally, if the Activity is related to publishing, in Publish Configuration, select the option that contains the publishing settings you want to use.
A Publish Configuration is created by an administrator and may include settings such as a default Publish Name, whether to skip or validate XML in the components, and profiling filters.
-
Optionally, you can add guidelines for the next user when this activity is marked as Completed. In Instructions, explain to the next user what to do in 2000 or fewer characters.
Notes:
- Instructions are saved with the workflow template and added to the project assignment as they are created for an active workflow.
- When an active workflow advances, Inspire displays these instructions in a read-only area at the bottom of the Next Workflow Task screen
-
In Workgroup, select Add Workgroup.
Workgroups must be pre-configured. If you don't see the option you need, Cancel out of this screen and follow the steps in: Create a new template workgroup.
- Select an option such as Writer.
- Click Update.
-
To save your changes, click Create.
Results:
- You can see your new activity as the first box in the workflow editor.
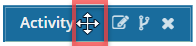
- Your new activity may be covering up the First Activity. To move it, click the Activity title bar, and when you see the move cursor, drag it to where you want it to occur in the workflow.
To automate the creation of a review, your next step is to Include a Create Review Transition.