Choose a root DITA map in Oxygen
You can define a hierarchical structure of submaps and establish a key space that defines the keys used in all the other DITA maps and topics in a root map. Specifying the correct root map helps to prevent validation problems when you work with keyrefs and also acts as the foundation for content completion.
 Tips and tricks
- If you define keys in a root map, they are available in the submaps that are contained within the root map.
- However, it's considered best practice to create a separate submap that contains all key definitions.
- Then you can reference that submap in the root map.
- This makes it easier to manage since they're all in one location.
- When you want to add a reference to a key, you must have these two items ready:
- DITA root map
- Defined keys
- The oxygen-based editor requires you to specify a root map and will step you through the process of selecting one for the current component you're editing.


To choose a root DITA map in Oxygen:
-
From the top menu select
 Components.
-
To open the topic in the Oxygen editor, double-click the component.
 You can also open a component in the following ways:
- To select the row, click it, then right-click and select Edit...
- To select the row, click it, then click and select Edit...
-
In Oxygen, on the left side panel, select
 DITA Map.
-
In Choose root DITA map, click the folder.

-
On the Select Component screen, navigate to the map, select it, and click Select.
 Results: You see the contents of the map in the DITA Map pane.
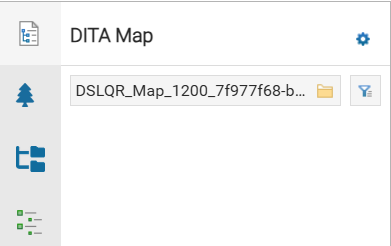
-
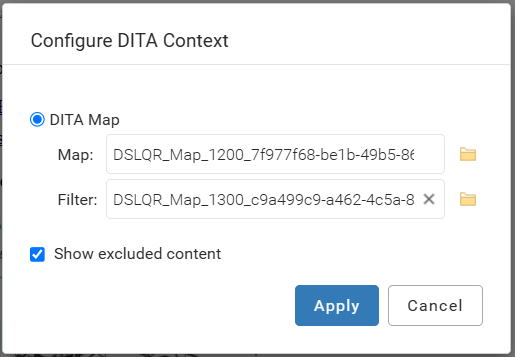
Optionally, you can you further refine the context for the current document within the overall structure by applying filters based on profiling attributes saved in a DITAVAL file associated with your DITA map.

-
After the listing of the root map, select
 Filter.
-
On the Select Component screen, navigate to the DITAVAL file, select it, and click Select.
Results: You have defined which content to include or exclude based on attribute values in your DITA topics.
-
After the listing of the root map, select
-
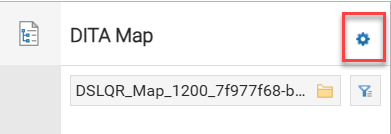
Optionally, to see the entire context of your root map and filter settings:
-
In the title bar after DITA Map, click
 Settings.
-
On the Configure DITA Context screen, review the settings.
-
In the title bar after DITA Map, click