Manage Content Authors
As a GlobalLink Vasont Inspire administrator, you can update the members of this role to include writers developing content for your documentation. You manage roles from the Security menu. You can update the role name, description, and add and remove role members.
 Tips and tricks
- The required role name must be unique.
- The role doesn't have to contain any members.
- You can delete this pre-defined role. Follow the steps in Delete a role.

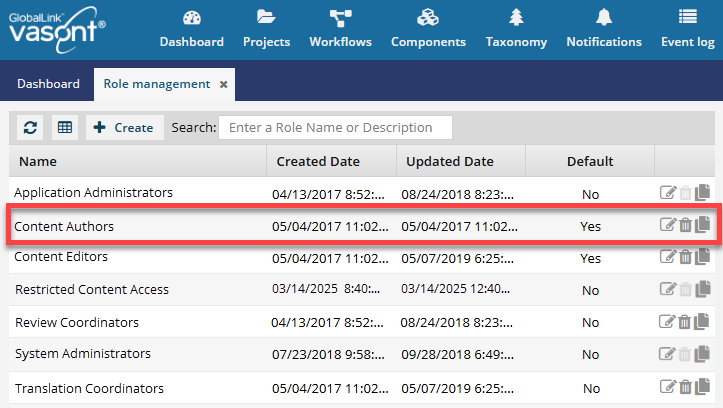
To update the Content Authors role:
-
From the
 Security menu, select Role management.
-
To make a new copy of the role to edit, click
 Save As.
- On the Role Details screen, on the Details tab, in the Name box, enter a unique title for the role in 50 characters or less.
- Optionally, in the Description box, enter additional information using 1000 characters or less.
- Optionally, if you want the role automatically added to a user and shown as default in the system, select Default.
- Click Save.
-
To make changes to the existing role, click Update
 .
.
-
On the Role Details screen, on the Details tab:
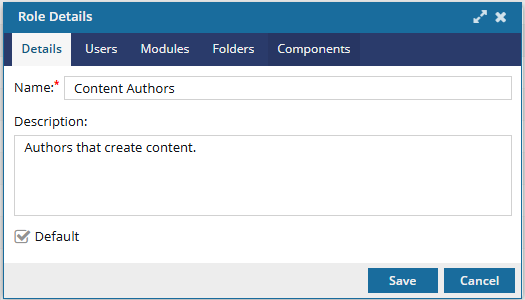
- Optionally, in Name, edit the title for this role using 500 characters or less.
- Optionally, in the Description box, edit the additional information using 1000 characters or less.
- Optionally, if you want the role automatically added to a new user and shown as default in the system, select Default.
-
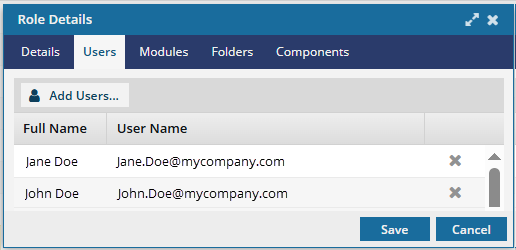
Optionally, to manage members for this role, select the Users tab.
-
To remove a user, click
 Remove.
-
Optionally, if the list is large or you only want to see a particular type of user, you can narrow the list in the following ways:

- To see only names that contain a word or specific letters, in Filter, enter text. For example, you can find names that contain "admin" or "review." This filter will search the Name column only.
- To see all users sorted by Name, Security Type, or User Type, click the column heading and then click the grey arrow. To sort by Name or User Type, you can also use the Sort By drop-down box.
- By default, the list does not include names with a User Type of Support. To see these users, select the Include support users option.
-
On the Select Users screen, click Select.
 Results: On the Users tab, you see the users you selected for this role.ss
-
To remove a user, click
-
Select the Modules tab. You see a read-only list of the modules that this role has some level of access to by default.
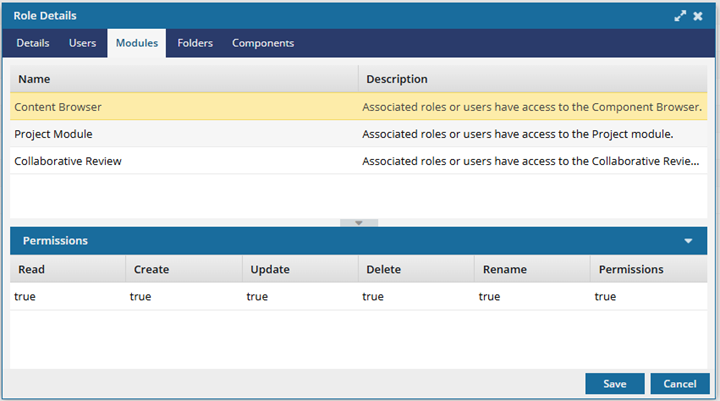
 To see the permissions granted to the Content Authors role for a module, select the module. Results: In the Permissions pane, you can see a column for each of the following access levels:
- Read. Allows the user to see a Read-only copy of content.
- Create. Allows the user to add a new record for the type of content that the module manages.
- Update. Allows the user to edit the type of content that the module manages.
- Delete. Allows the user to remove the type of content that the module manages.
- Rename. Allows the user to edit the record name of content that the module manages.
- Permissions. Allows the user to set permissions on the content that the module manages.
If the value is true, then members of the Content Authors role have access to the module to perform the associated task.
- If at least one Permission is set to true, then the members of the Content Authors role can see the module in the top menu.
If the value is false, then members of the Content Authors role cannot perform the associated task.
- Keep in mind that a role member may be able to access the module even if they cannot perform all the associated tasks.
 To add or remove the Modules in this list, follow the steps in Update module access permissions.
 -
Select the Folders tab. You see a read-only list of the folders that this role has some level of access to by default.
 If the role has access to a folder, then it automatically has access to the components in the folder unless a user explicitly sets a permission on the component to remove the access.
- You can set permissions so that a component doesn't inherit access permissions from its parent folder.
- You can also grant permissions to a specific component when you don't want to grant access to the entire folder.
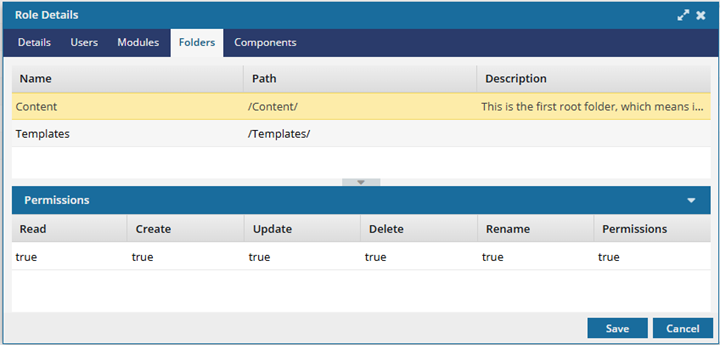 To see the permissions granted to the Content Authors role for a folder and all its content, select the folder. Results: In the Permissions pane, you can see a column for each of the following access levels:
- Read. Allows the user to see a Read-only copy of the folder.
- Create. Allows the user to add a new sub-folder.
- Update. Allows the user to edit the folder properties and possibly the contents it contains.
- Delete. Allows the user to remove the folder and possibly the contents it contains.
- Rename. Allows the user to edit the folder name of the name of any component that the folder contains.
- Permissions. Allows the user to set permissions on the folder. If the contents of the folder inherit their permissions, then the user is effectively setting permissions for the folder and all the content it contains.
If the value is true, then members of the Content Authors role have access to the folder to perform the associated task.
- If at least one Permission is set to true, then the members of the Content Authors role can see the folder in the Components browser.
If the value is false, then members of the Content Authors role cannot perform the task on the folder in the Components browser.
- Keep in mind that a role member may be able to see the folder even if they cannot perform all the associated tasks.
To add Folders to this list, follow the steps in Set folder permissions, and add this role to the folder's permissions list. -
Select the Components tab. You see a read-only list of the files that this role has some level of access to by default.
If the role has access to a folder, then it automatically has access to the components in the folder unless a user explicitly sets a permission on the component to remove the access.
- You can set permissions so that a component doesn't inherit access permissions from its parent folder.
- You can also grant permissions to a specific component when you don't want to grant access to the entire folder.
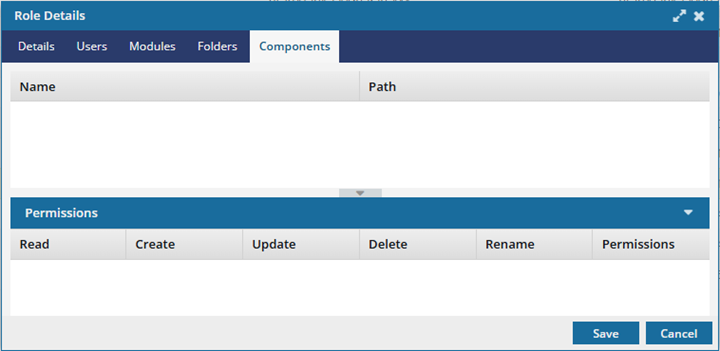 To see the permissions granted to the Content Authors role for a component, select the component. Results: In the Permissions pane, you can see a column for each of the following access levels:
- Read. Allows the user to see a Read-only copy of the component.
- Create. Allows the user to add a new component from the source component.
- Update. Allows the user to edit the component's contents.
- Delete. Allows the user to remove the component and place it in the Deleted Items folder.
- Rename. Allows the user to edit the component name and filename.
- Permissions. Allows the user to set permissions on the component.
If the value is true, then members of the Content Authors role have access to the component to perform the associated task.
- If at least one Permission is set to true, then the members of the Content Authors role can see the component in the Components browser.
- If the user has permissions to the component but not the folder where it's stored, the user can see the name of the folder but does not have permission to change the folder in any way.
If the value is false, then members of the Content Authors role cannot perform the task on the component in the Components browser.
- Keep in mind that a role member may be able to see the component even if they cannot perform all the associated tasks.
To add Components to this list, use the following topics to add this role to the components permissions list: