Start a topic workflow from an assignment
When you're working on an assignment for a project, you can convert the assignment into a workflow. This action lets you use a predefined set of tasks and assignments where the handoffs are automated by Inspire. After you select the project assignment, you can select an action called Initiate workflow. Inspire marks the assignment as completed and opens the Start Workflow screen.
 Tips and tricks
- The assignment must be in one of the following States to use the Initiate workflow option:
- To Do
- In Progress
- In the Assignments panel, if the Initiate workflow option is not available, the assignment is already being used in another workflow.
- Inspire checks to see if the component(s) you want to add are in another assignment, project workflow or review workflow. You see warnings if a component is already in use. If you want, you can close the warnings and create the assignment or workflow anyway.
- You can edit the default topic workflow template or save a copy to update it so that it reflects your unique business workflows.

 Required permissions
To create, view, update, and delete workflows you must either be an Administrator, the project Owner, or have the following permissions:
- Create, read, update, and delete permissions to the
 Projects module.
 - For the Projects module, your user account must be listed under the following Property: can_initiate_assignment.
- If you are an administrator, refer to Allow users to create project assignments and workflows.
To start a topic workflow from an assignment:
-
From the top menu bar, select Projects.
-
To open the project, do one of the following:
- Double-click in the project's row.
- Right-click in the project's row and select Open.
- Go to the end of the project's row, click
 the Options menu, and select Open.
-
Go to the Assignments panel.
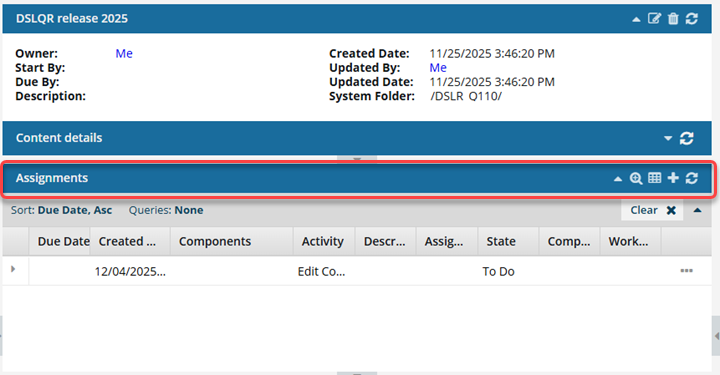
 If the panel is not open, go to the Assignments title bar and click
  the down arrow to expand the panel.
 -
Select the assignment you want to convert to a workflow.
 The assignment must be in the following State to use the Initiate workflow option:
- To Do
- In Progress
-
At the end of the assignment's row, select the Options menu, and then select Initiate workflow.
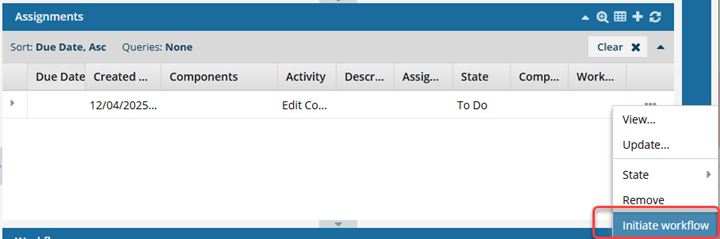
 If the Initiate workflow option is not available, the assignment is already being used in another workflow.
 -
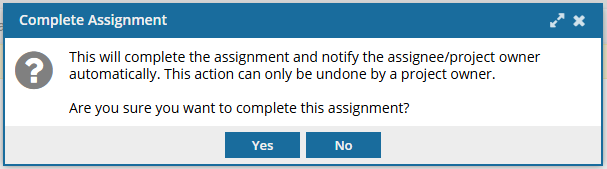
On the Complete Assignment screen, click Yes.
 Results:
- Inspire marks the assignment as Completed. Even if you cancel out of starting a workflow, the assignment will remain marked as Completed.
- Inspire notifies the user who was assigned to this work and the project Owner that the assignment was Completed.
- Inspire opens the Start a workflow screen.
-
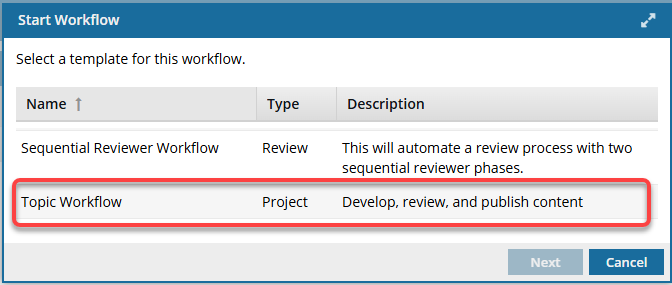
On the Start Workflow screen:
-
Click Next.
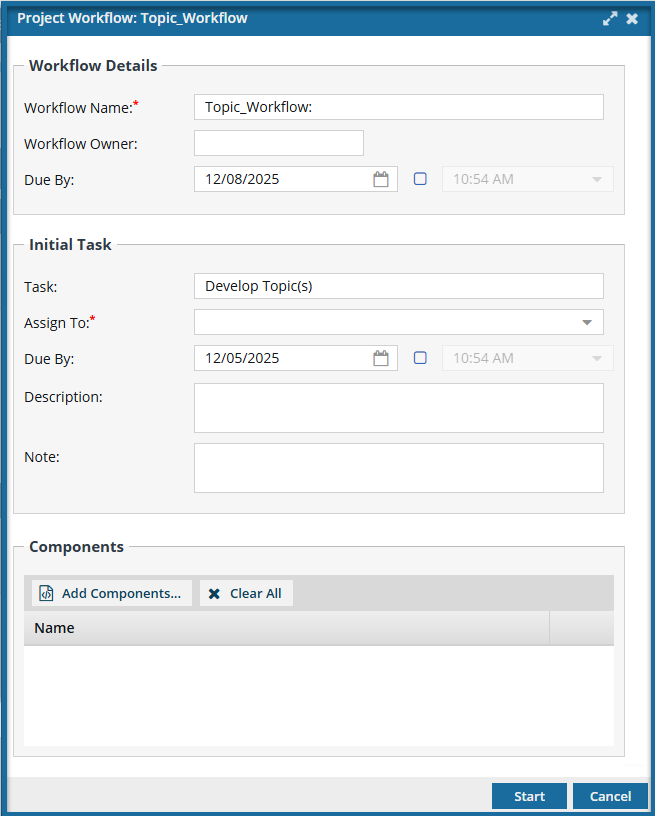
Results: The Project Workflow: Topic_Workflow screen opens.
-
Click Next.
-
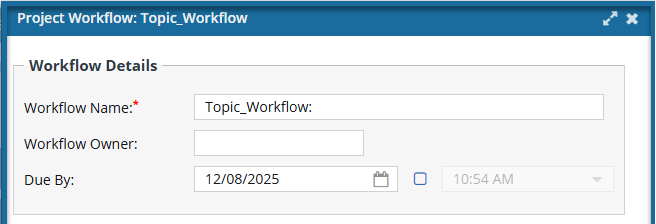
On the Project Workflow: Topic_Workflow screen, in the Workflow Details section:
-
By default, the Workflow owner is set to your user name.
You cannot change this setting.
-
If the template you selected includes Duration times for any of the activities, those times are added up and used as the default value in Due By. You can do one of the following:
- Add more time by extending the due date out
- Add a new due date if there is no default
- Leave this value blank
Optionally, you can set a time for the deadline. After selecting the date, select the checkbox that follows it and then select a time from the list.
-
By default, the Workflow owner is set to your user name.
-
On the Project Workflow: Topic_Workflow screen, in the Initial Task section:

-
If the template you selected includes Duration times for the selected Activity (Task), that time is used as the default value in Due By. You can do one of the following:
- Add more time by extending the due date out
- Add a new due date if there is no default
- Leave this value blank
Optionally, you can set a time for the deadline. After selecting the date, select the checkbox that follows it and then select a time from the list. -
Optionally, you can enter a Note to the user to include additional guidelines such as what needs to be completed before the task is done.
After you create a workflow, you see more tracking details by reading the notes users leave when completing a task. For more details, read Understand workflow notes and statuses.
-
If the template you selected includes Duration times for the selected Activity (Task), that time is used as the default value in Due By. You can do one of the following:
-
On the Project Workflow: Topic_Workflow screen, in the Components section:
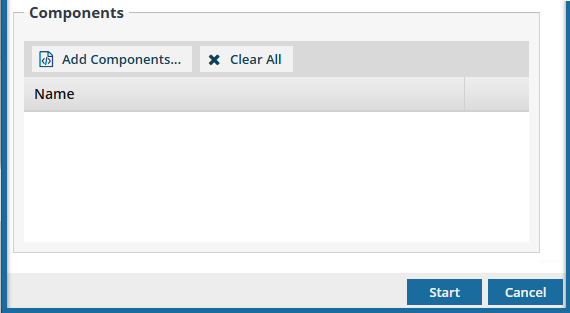 If you are developing new topics that haven't been created yet, you can leave the Components section blank.
-
On the Select Project Components screen, select the checkbox for any project component you want to include in the workflow, and then click Select.
Notes:
- The components can be used at any step of the workflow, not just for the initial task.
- New components can be added during a workflow activity.
- Inspire checks to see if the components you want to add are in another assignment, project workflow, or review workflow.
- You see a warning if a component is already in use.
- If you want, you can close the warnings and create the assignment or workflow.
-
Optionally, to remove one component from the list, select the Options menu and then select Remove.
-
Optionally, to remove all components from the list, click
 Clear All.
-
On the Select Project Components screen, select the checkbox for any project component you want to include in the workflow, and then click Select.
-
On the Project Workflow: Topic_Workflow screen, at the bottom click Start.
Results: Your workflow is created and you can see an assignment in the Assignments pane. All participants you added to the workflow can be viewed in the Participants pane. If you try to assign work to a participant who doesn't have access to the component, you will see the following error.
This workflow has one or more permission problems. It is recommended to cancel the workflow, correct the permissions, and then restart it. The assigned user "Jane.Doe@MyCompany.com" does not have permission to access the following components: PrivateConcept.
- The error tells you the name of a user included in the workflow. It may not be user who needs the permissions, so you have to check each participant's permissions to the restricted component.
- The warning tells you the name of the restricted component.
- The Workflow is still started. You can change the permission, participant, or the component to resolve the conflict.
- For details on how to set permissions, refer to: Set permissions.