Update assignment details
As the work on an assignment progresses, you may need to update details such as changing the due date or adding other users to the notifications sent about the assignment.
 You must have permission to the Projects Module to work with projects.
- By default, only users with the following permissions can create project workflows and assignments:
- Administrator permissions
- Access to the Project Module with the Create permission
- Even if you don't have these permissions, you can be granted a special permission to create workflows and project assignments after a project is created.
- If you are an administrator, refer to Allow users to create project assignments and workflows

 Tips and tricks
- Updating who the task is assigned to. If you need to change who is working on a task, follow the steps in Re-assign a project task to a participant.
- Updating project components. If you need to change the component that needs to be worked on for a task, follow the steps in Update components for an assignment.
- You must have participants in the project. Before you can add a participant to an assignment, the user must be a member of the project team. Follow the steps in Add participants to a project.
To update assignment details:
-
Click
 Projects.
-
On the Project Management tab, double-click to open the project that contains the assignment you want to update.
 You can also open a project by:
- Right-clicking the project and then selecting Open.
- Clicking
 the Options menu and then selecting Open.
-
To update details on the Assignment tab:
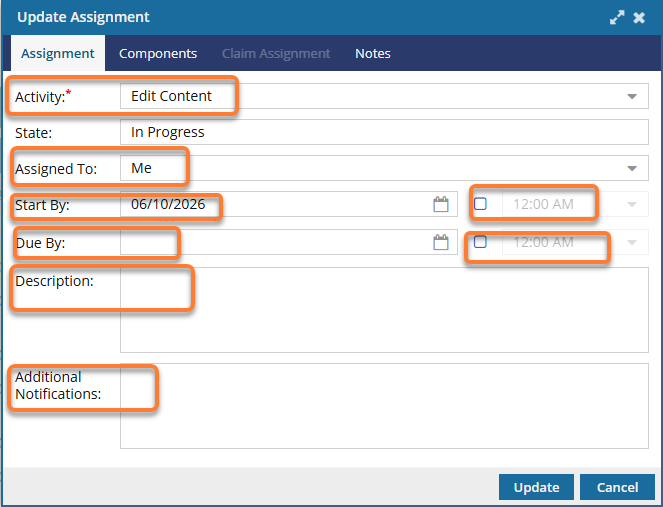
 You cannot update the State of an assignment from this screen. Use the right-click menu to select Claim, Start, Complete, or Cancel.
-
In Assigned To, select a participant who has been added to the project.
Make sure you assign work to a participant who has access to the component, otherwise you will see an error when you click Create.
-
In Start By, to choose a date when work should begin, click the calendar icon
 and select a date on or after the current date.
-
In Due By, to choose a date when work should be complete, click the calendar icon and select a date after the Start By date.
-
In Assigned To, select a participant who has been added to the project.
-
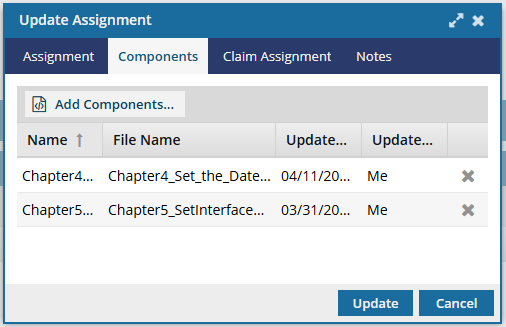
On the Update Assignment screen, you can optionally add or remove components in the assignment.
-
Optionally, to add more components, click
 Add Components...
-
In the Components pane, select the checkbox for each component you want to add, and then click Select.
Inspire checks whether the component(s) you want to add are in another assignment, project workflow, or review workflow.
- You see warnings if a component is already in use.
- If you want, you can close the warnings and create the assignment or workflow anyway.
-
Optionally, to remove a component from the assignment, in the component's row, click
 Remove.
-
Optionally, to add more components, click
-
On the Create Assignment screen, if you set the State to Ready To Claim, you must add the list of users who will receive the project assignment notification to claim the work.

-
Select the Claim Assignment tab.
 Result: You see a grid where you can create a list of users who can potentially claim this project assignment.
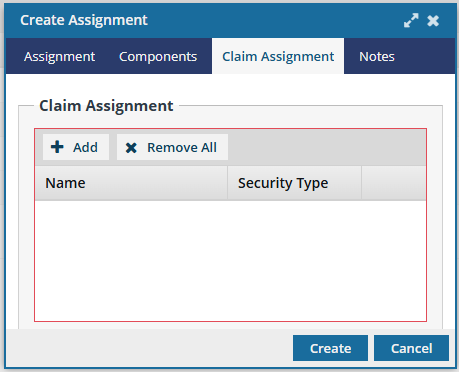
-
Click
 Add.
Add.
-
On the Select Users/Roles screen, select the checkbox for each user or role you want to send a notification to and allow to claim this assignment.
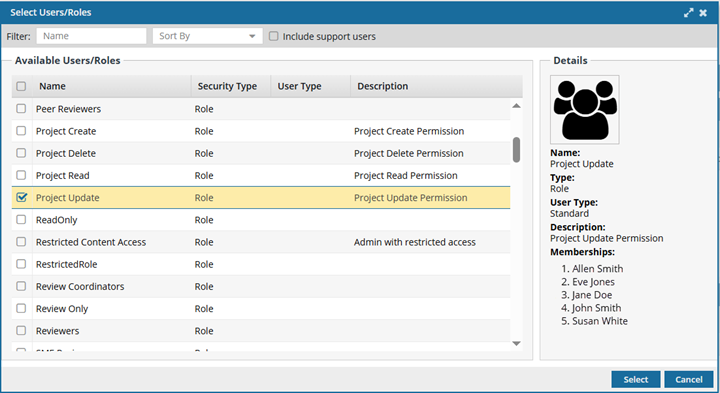 If you are selecting an individual user, check the value in the User Type column to ensure the account has permission to complete the assignment. For example, an account with a User Type of ReviewOnly may be unable to complete a publishing assignment.
 -
On the Select Users/Roles screen, click Select.
Result: On the Claim Assignment tab, you see a list of the selected users and roles.
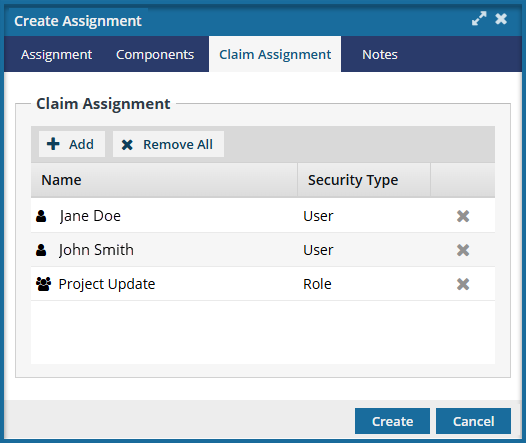 You can use the Security Type column to see if the account shown in Name is an individual
  User account or a group
  Role.
Role. -
Optionally, to take one user off the list, at the end of their row, click Remove.
-
Select the Claim Assignment tab.
-
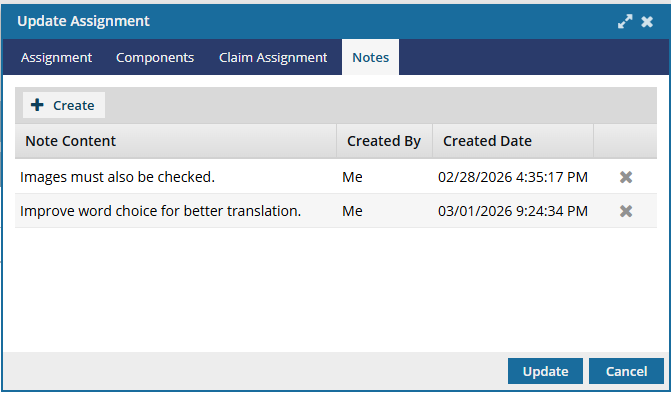
Optionally, if you need to provide more instructions to the user about the work to be done, you can add a list of notes.

-
Optionally, to create another note, click
 Create.
Results: The Project Assignment Note screen opens.
Create.
Results: The Project Assignment Note screen opens.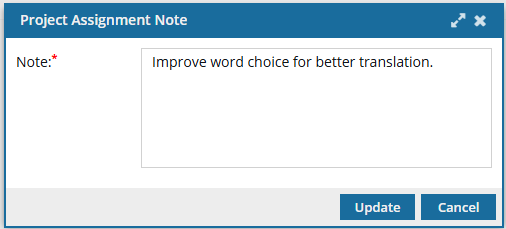
-
On the Project Assignment Note screen, click Update.
Results:
- The Project Assignment Note screen closes.
- On the Notes tab, you see up to 50 characters of your Note Content.
- To display the entire note, hover your cursor over truncated text.
 The Notes you enter can be seen in:
- Assignment Notifications
- When using the View Assignment option in a project
-
Optionally, to remove a note from the assignment, in the note's row, click Remove.
-
Optionally, to create another note, click
-
On the Update Assignment screen, click Update.
Results:
- Participants associated with this assignment receive an email notification that changes were made to the assignment.
- If you are the Project Coordinator and a participant for the assignment you just updated, you won't receive an email notification.
If you try to assign work to a participant who doesn't have access to the component, you will see an error. 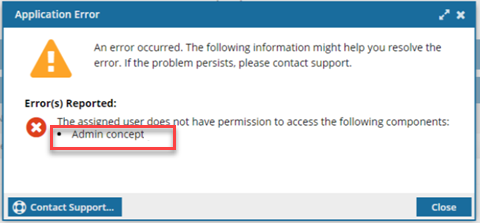
- The error tells you the name of the restricted component.
- You are returned to the Update Assignment screen to change the participant or the component.
- For details on how to set permissions, refer to: Set permissions.