Create an SFTP export configuration
You configure settings so that a user can export files from Inspire to your organization's Secure File Transfer Protocol (SFTP) server.
 Requirements
- You must have administrator permissions to work with export configurations.
- If you go to the top menu and can see the
 Administration option, then you have the necessary permissions.
 - If you can't see the Administration menu, contact your local administrator.
- If you go to the top menu and can see the
- You must have already contacted your Vasont representative to add this functionality.
- The SFTP server configuration is completed by a Vasont Operations team member.
 You must provide Vasont with the details needed to connect to your SFTP server.
- The SFTP server configuration is completed by a Vasont Operations team member.
- Vasont will configure an export plugin to add support for sending Inspire files to your SFTP server.
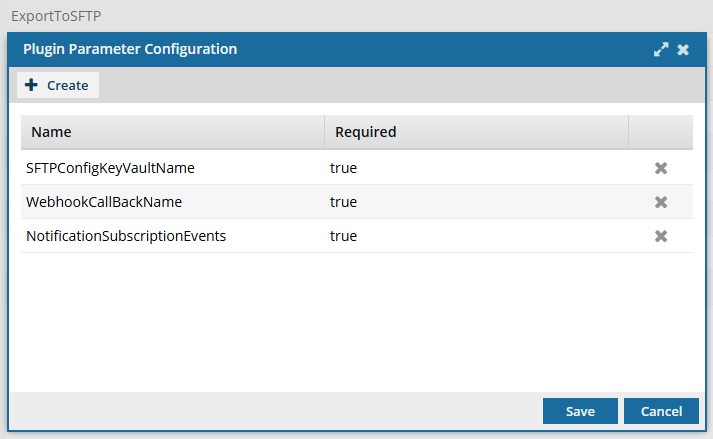
- Review your list of plugins, and verify that one exists called ExportToSFTP. Follow the steps in: View your export plugins.

To create an SFTP export configuration:
-
From the Administration menu, select Export configuration.
-
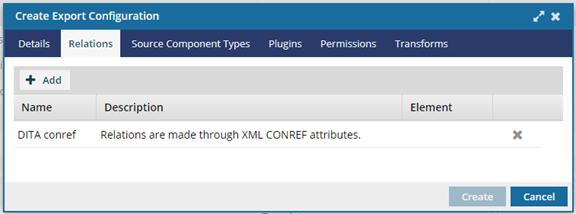
Optionally, to add an element name and limit the export to only the specified element relationship:
-
To limit the export configuration to a specific element relationship, in the relations row, click the Elements column, and use the drop-down arrow
 to select the element name.
By default, the element name is empty, and all relations apply to all element types defined within the relation.
to select the element name.
By default, the element name is empty, and all relations apply to all element types defined within the relation.
-
To limit the export configuration to a specific element relationship, in the relations row, click the Elements column, and use the drop-down arrow
-
Optionally, to limit the downloaded content to only the types you specify:
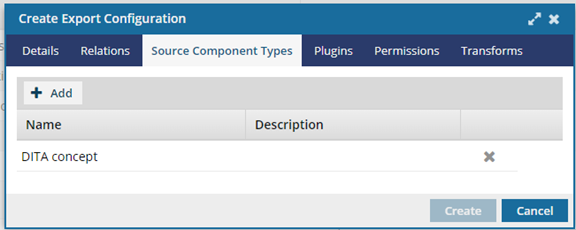
- On the Create Export Configuration dialog, select the Source Component Types tab.
- Click Add.
- On the Add Source Component Types dialog, select the checkbox next to one or more source component types.
- Click Add.
-
To use the SFTP plugin:
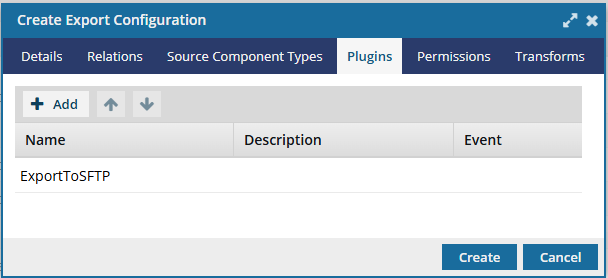
- On the Create Export Configuration dialog, select the Plugins tab.
- Click Add.
- On the Available Plugins screen, select the checkbox for ExportToSFTP.
- Click Add.
-
Optionally, to limit which users and roles can select this export configuration:
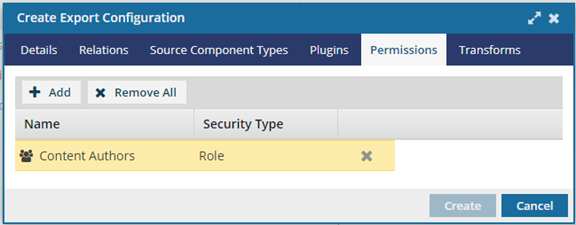
- On the Create Export Configuration dialog, select the Permissions tab.
- Click Add.
- On the Select Users/Roles dialog, select the checkbox next to one or more users and roles.
- Click Select.
-
Optionally, to use an XSLT to transform output:
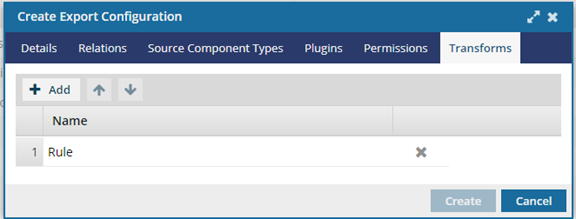
-
Click
 Add.
Add.
-
If you have multiple rows of stylesheets, you can set the order in which they are applied.
● To move an XSLT up in the order, click the up arrow
 .● To move an XSLT down in the order, click the down arrow
 .
.
-
Click
-
On the Create Export Configuration screen, click Create.
 Results:
 - On the Export Configuration tab, your export configuration is listed in the grid.
- When a user opens the Components browser, selects a component, and chooses Export, there is an option for Export to SFTP (or whatever name you gave to the configuration.)
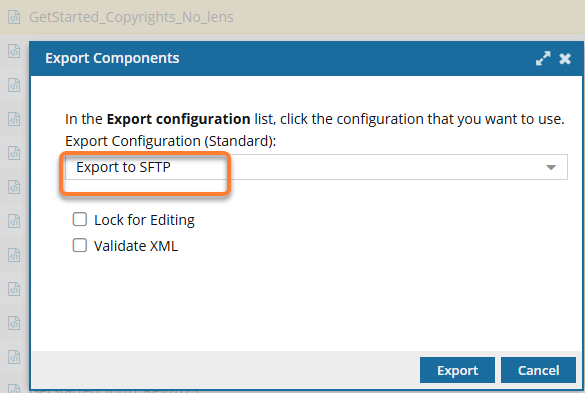 The user receives the following notifications:
- The export process has begun
- Export to SFTP Server Submitted Successfully
- Export to SFTP Server Updated (indicating that export request has been received by the Inspire SFTP server)
- Export to SFTP Server Completed Successfully